Different Solar Panel Mounting System Types and How They Are Installed
A solar photovoltaic system is not going to work as intended without a proper mounting method. They are essential for keeping solar panels at the correct angle of tilt and can even have an effect on the system’s overall temperature.
The cooling technique will vary depending on the solar mounting arrangement chosen. As a result of increased airflow from all directions, solar panels installed on the ground will cool off more quickly than those on a roof, which will have an effect on both the panels’ ability to maintain a constant temperature and their overall efficiency.
Ground Mounted Solar Panels
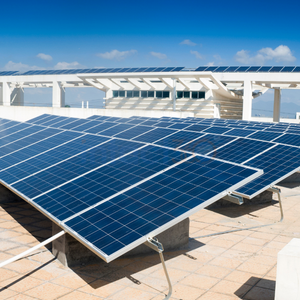
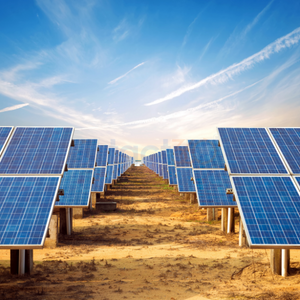
Ground-based solar power systems. Your solar system will be situated on Earth, as the name suggests. Ground-mounted systems provide a variety of options to select from, based on your area, your demands, and the suggested design. This is their main advantage.
Types:
1. Foundation mount
2. Ballasted footing mount
3. Pole mount
4. Multi-pole mount
5. SmartFlower
Ground mounted solar system installation
The most crucial stages involved in installing a ground-mounted system, especially one with a foundation mount.
The system’s architecture must be determined first. Dimensions of the solar system: 3, 4, or 5 parallel rows of panels. It all depends on the temperature and the way the wiring was set up.
Soil analysis to determine whether it consists of sand, silt, clay, or other particles. Next comes taking into account the weight and size of the solar panels in addition to environmental factors like wind and snow when choosing the type of foundation.
You must decide whether to use helical piles or concrete piers for the base of the structure. It will be necessary to perforate the ground.
Mechanical tubing and pipe size & material (Aluminum, steel, etc.) selection.
The installation process begins after all design considerations have been resolved:
- Space is excavated for the concrete footings or helical piles to be set in.
- Bolts secure the mounting system’s base to the earthing foundation.
- Pipes or other mechanical tubing are installed vertically and secured to the ground. Prefabricated, folded structures can be placed as well.
- Construction of railings. A system of rails is fixed to the building.
- Whether or not cross rails are included in the final design of the system is a function of the structural framework chosen for it.
- The solar panels are positioned in the rails using the center and end clamps.
Roof Mounted Solar Panels
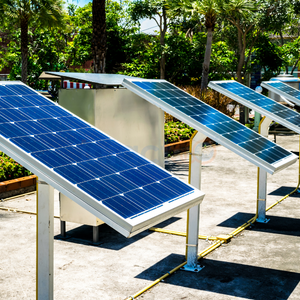
Rooftop solar panels are the most common choice for most people. The reason is different, but the major reason is that they are extremely expensive.
Types:
Railed mounting
Rail-less mounting
Shared-rail mounting
Flat roof ballasted racking system
Mounting Solar Panels on a Roof
Knowing the process of installing solar panels on a roof is helpful now that you have an idea of the various alternatives available to you. To begin installing a standard railed mounting system, an installer must complete the following steps:
- Getting everything set up that needs to be. Tools such as drills, pencils, a fall arrest system, chalkboards, railings, clamps, bolts, screws, and more.
- The spacing of the roof rails must be measured. Depending on the distance between the solar panels’ pre-drilled holes. Create a guideline with a chalk line.
- Verifying the regulations enforced by the government. The original placement of the rails and panels must take into account these constraints, which are typically associated with the roof’s margins.
- Discovering a raft in the sky. Spot-hole-drilling your way up into the attic. The installer can change the centre of the truss that will be the supporting point for the rails after drilling & locating the position of the drill from the inside.
- Connecting the flashings. The installer must next mount the flashings after fixing the hole positions (the supporting structures that will attach the panels to the roof). The flashings are attached to the rails by bolts and covers.
- Installing the solar panel rack. We install rails. The installer must also check the alignment and the height of the flashings to ensure that the roof is secure.
- Installation of grounding bolts and wire management clips. The exposed copper wire leading to the home’s grounding system is secured with grounding bolts.
- Putting in micro-inverters or power optimizers for each panel and connecting the wires to the management clips.
- Fastening solar cells to the rack. Last but not least, the clamps and t-bolts are used to secure the panels to the mounting system.
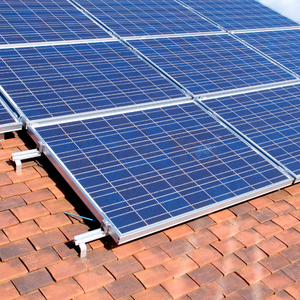
The solar panel fastener is a device that is used to mount solar panels on the roof. It helps in connecting the solar panels to the roof and it is also responsible for securing them against wind. This device can be made of metal or plastic and it has two parts – a male and a female end.

